Wednesday 21 November 2012

Module 6, Chapter 8 contd.


Coloured compositions based on black and white exercises


frenzied, fast, vigorous, conflicting


separated, suppressed, separated


controlled, enclosed, imprisoned


entwined, combined, 
peaceful, married


quiet, restful, separate, peaceful, suppressed


bend, soft, quiet, separated


isolated, separated, expelled 


vigorous, fluttery


peaceful, restful, gentle, soft, quiet, rhythmical


controlled, suppressed, crushed


crushed


enclosed, bend, enveloped


conflicting, confused


entwined, married


enclosed, controlled, enveloped


regeneration


entwined, enclosed, compressed


expelled, attraction 


It's interesting how different the designs look in colour. At first I thought the black and white was sharper and more dramatic, but now I have finished them in colour, I'm getting quite fond of them!


Module 6, Chapter 8


Dear Sian

I was listening to the radio one day, and heard someone say that there are not as many butterflies as there used to be. I did  a little research, and found  that indeed the butterfly population is half of what it used to be and that some species are close to extinction. This seemed to be a good topic for my conservation project.


Words to describe butterflies

Airiness and frivolity, extravagant beauty, all of a flutter, decorative adornments to a summer’s day, ecologically vulnerable, fragile winged beauties, enchanting creatures, each one a miracle of nature, you can’t help but smile when you see a butterfly, butterflies mark the return of spring.                        

Quotes about butterflies

Beautiful and graceful, varied and enchanting, small but approachable, butterflies lead you to the sunny side of life, and everyone deserves a little sunshine – Jeffrey Glassberg.
The butterfly is a flying flower; the flower is a tethered butterfly – Denis Ecouchard Lebrun.
If nothing ever changed, there would be no butterflies.
Butterflies are self-propelled flowers.
It always seems that butterflies are granting you a privileged moment in their company
“Just living is not enough,” said the butterfly, “One must have sunshine, freedom and a little flower” – Hans Christian Anderson.
We are like butterflies who flutter for a day, and think it is forever – Carl Sagan.
And the case of butterflies so rich it looks, as if all summer settled there and died – Philip Larkin.
Love is like a butterfly, it goes where it pleases, and pleases where it goes – Anon.

Interesting Facts About Butterflies

The wings of butterflies are transparent. The vivid colours are due to overlapping bright scales. The patterns are intended for camouflage so that predators cannot see them in trees and bushes.
They are fragile and can be adversely affected by changes in climatic conditions. This year spring species  suffered in the cold wet weather.  Many of the insects emerged early, coaxed from the chrysalis by the high March temperatures, and later struggled to fly around in search of food and a mate. They are cold-blooded and need to bask in the sun’s warmth. They cannot fly if their temperature is less than 86 degrees. Butterflies are Britain’s most threatened wildlife group. A decline in British butterflies means bad news for all sorts of other wildlife, as butterfly losses alert us to an increasingly unhealthy environment. Plenty of butterflies indicate a healthy well-balanced ecosystem, and a dearth of butterflies denotes a possible environmental problem.
They live anywhere from a few months to a few hours.
They suck nectar from plants and flowers and drink liquids to maintain their water and energy supplies. Male butterflies sip fluid along the edge of streams. They gather in shallow waters or wet areas in order to digest the dissolved minerals.

Bees, Butterflies and Blooms 
BBC 2 - Programme 3

Our butterflies and bees are dying out. This giant insect workforce pollinates our crops and, if they disappear, most of our favourite foods will vanish too. Poor nutrition is leaving our insect pollinators vulnerable to pesticides and parasites.
90% of us live in cities, and our urban jungles are little help to our struggling insect pollinators. In our cities, what you see is close mown grass almost everywhere, with occasional bedding plants – pretty useless for our butterflies. They don’t provide much food and they don’t provide them with a habitat. We’ve intensified our farming to meet our demand for food and increased our dependence on herbicides, and our insect pollinators are in crisis. Many scientists believe there is not enough food and habitat left. For centuries, our wild flower meadows helped to feed our butterflies, but sadly it is estimated that 98% of these landscapes have disappeared. We need to get insects back into our cities. If we make a conscious decision to plant pollen and nectar rich plants, we can get Britain buzzing again.
Spring flowers are essential to give them the boost they need after being in hibernation all winter.

Plants that butterflies love:

1. Aster. Asters will provide loads of autumn food for butterflies.
2. Buddleia. We love Buddleia . Its common name is the butterfly bush so there’s a clue as to how good it is at the job in hand. It will grow almost anywhere in any soil. Brilliant!
3. Sedum. Again another great provider of late summer and autumn nectar. Also called the Ice Plant.
4. Lavender. Everyone’s favourite and a big hit with the butterflies too. A true English Lady of our gardens.
5. Oregano. A perennial herb that our butterfly friends can’t get enough of. A real winner.
6. Cosmos. The big blooms on cosmos seem irresistible to all manner of butterflies…and people for that matter.
   
Other plants that attract butterflies include: alysum, aubretia, red valerian, Echinacea purpurea, wallflower, grape hyacinth, hebe, lilac, rosemary, berberis, red hot poker, globe thistle (peacock butterfly), scabious, cranesbill, candytuft, lobelia, forget-me-not, dandelion, nasturtium, phlox, primrose, French marigold, thyme, clover, corn poppies, single dahlias, zinnias, and cornflower.


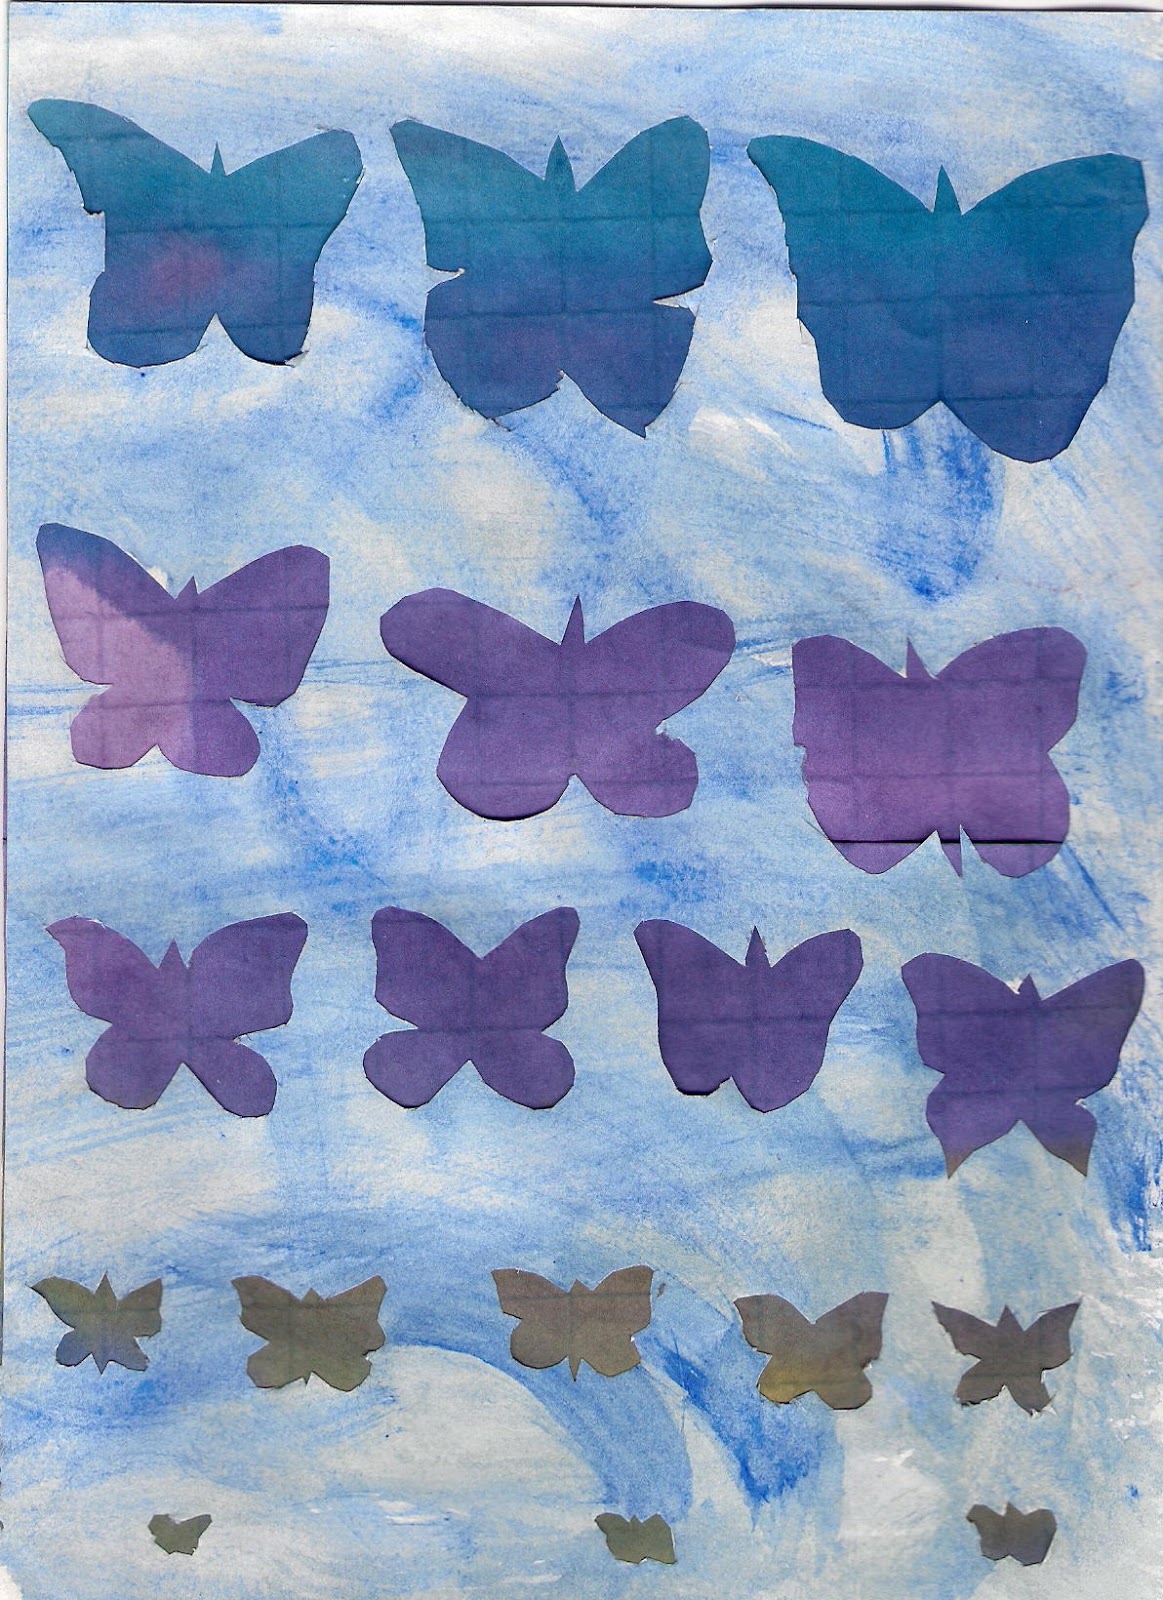
A preliminary idea for my wall-hanging. 


Design exercise -  black and white compositions. (I'm sorry the writing is so small - I hope you can read it.)


Tuesday 29 May 2012

Module 6, Chapter 7


MODULE 6, CHAPTER 7 - Use of disolvable fabrics


I enjoyed using the dissolvable  fabrics, because you never knew what would happen when you finally unpinned them.  A lot of them came out quite different from what I thought they would be, but I can see that they have a lot of interesting potential. Now all I need is time to try them out!

_________________________________________


No. 1 - Madeira cold water soluble (Gillsew).  Easy to dissolve, quite stiff.


No. 2 - Aquafilm. Very easy to dissolve. Used in frame.


No. 3 - Romeo (thick film).  Can use without a frame, but use a ball-point machine needle. Result is much softer than other samples, but it distorts a lot, so it has to be very firmly pinned out. It takes a long time to dissolve. It is very difficult to write on the film either with a ball-point pen or a pencil, so use a felt-tip pen.


No. 4 - Hot water dissolvable fabric (blue). Hard to dissolve. Samples distorted a lot when the hot water was poured onto them. The heavily machined sample didn't distort at all, but shrank in size.


No. 5 - Trick film. Needs to be ironed off. Very difficult to dissolve.  I finally put it under the grill, and cut out the excess!


No. 6 - Guiliette (thin film). Cold water soluble. Easy to sew on and dissolves well, but distorts when wetted, so pin out carefully. The end result is nice and soft.


No. 7 - Cold water soluble paper. Has a tendency to tear if sewn over. and is very difficult to dissolve.


No. 8 - All these samples were on aquafilm (cold water soluble).

                  A                      B                     C                 D
            8+2+4+6           3+10          3+2+8+4       2+9+1


                 E                             F                           G
           2+9+6+3              2+6+9+4            2+3+9+10


                   H                              I                           J
          2+3+9+10+12              3+10           2+9(zig-zag)


No. 9 - Soluble lace samples based on sea and sky drawings.


A
Cable stitch, zig-zag with trapped pieces of fabric. I was quite pleased with this one, the colours  were attractive and there is a real  feel of waves.


B
Whip stitch, straight and zig-zag.
The background is too heavy,and also too dark for sky. The whole thing feels a bit ominous! Perhaps it's going to rain! 


C
Whip stitch and zig-zag with trapped bits.
I used a twin needle hoping it would look light and airy but you can't see a double line at all, and it came out quite heavy.


D
Straight stitch and zig-zag on a fabric background.
The fabric background held the whole thing together and made it easier to sew, but it lost the see-through element.


E
Straight stitch, cable and zig-zag.


F
Whip stitch,straight stitch and cable stitch.
With the dark blue diagonal lines I was trying to reflect the dark blue diagonal lines of the background, but they came out much too dark and heavy and overshadowed the main light blue wavy lines.


No. 10 - 3-Dimensional shapes. 


1

I made these three 3-dimensional shapes, but didn't realise how hard it is to manipulate the fabric while it is wet.  You actually have to leave it quite a long while until it's almost dry, but still sticky - not easy.  So I was pleased I managed to get anything at all. 

 1A


 1B


 1C(a)


I think this one was the most successful.  I wrapped it round a pencil and then my finger, but couldn't get it off, which is why there is a little knob at the bottom.


1C(b)


Monday 5 March 2012

Module 6, Chapters 5 and 6

MODULE 6, CHAPTER 5 - MACHINE STITCHERY

Dear Sian,

I imagine that you thought you would never hear from me again, but at long last here is some more work.  I'm sorry it has taken so long coming, but we have been doing a lot of travelling, and it is impossible to do any machining while we are away.  They don't let you use a sewing machine on an aeroplane! So here is some stuff from Module 6.


No. 1.  I did this as a practice piece on muslin, mostly ziz-zag, and thought I would get nice big holes around the stitching, but it didn't come out like that.  Why?

 
No. 2.   This is also a practice piece, and the same thing applies.  How can I get the holes bigger?


No. 3.  These were three pieces of tights stretched on a frame. The top one was very tight, the second loose in the frame, and the bottom one very loose in the frame.  This last one didn't really work, because the loose material kept getting sucked into the machine and getting stuck.  So I gave up!


No. 4.  This was using a twin needle on quite transparent fabric, and I thought you would be able to see the threads very clearly behind the stitching,.  But it wasn't very visible, which didn't give the effect I wanted. Is there anything I can do about that?


No. 5.  Zig-zag and Cable.  I was quite pleased with this. The colours and shapes seemed right, although I am still not really on top of the cable technique. I can't get a nice straight line, and it got quite chunky in places,but I don't think that matters on this particular piece.


No. 6.  Zig-zag.  Although this is padded with quite a thick layer of wadding,  the 'hills'  do not seem to show
up in the photo and, in fact, I hoped it would look more obvious even in the real piece.


No. 7.  Zig-zag.  This came out quite nicely, although I did hope that the holes made by the needle would be larger.


No. 8.  Straight stitch, cable stitch and whip stitch.  This came out much less controlled than in the original, as I still find the cable hard to do, but actually I find the zany quality of the cable stitch quite cute!


No. 9.  Twin needle on transparent fabric. This seems to be the opposite of the previous sample, as the embroidered piece is much more ordered than the crayon picture. Perhaps I am finally learning how to control the machine.


No. 10.  Whip stitch.  This came out as quite a nice interpretation of the crayoning over sequin waste, although it was the reverse side of the machining I had originally done.  Long live serendipity!


No. 11.  Cable stitch on felt, with straight stitch on top to interpret the 'drag' lines of the Markal paintsticks.


No. 11. Straight stitch, cable stitch and whip stitch on shiny fabric.


No. 12. Straight stitch and zig-zag on dyed cotton (procion dyes).  This was one of the first pieces I did, and I was quite pleased with it.  The sewing really seemed to capture the watery feel of the original ink and crayon drawing.


No. 13. Straight, zig-zag and cable stitches on padded felt.  I liked this piece. The colours were attractive and it seemed to have the feel of both sea and sky. This is just half of a piece, the other half will appear in the next chapter.


MODULE 6, CHAPTER 6 - CUTWORK 


No. 1 .  Fabric sewed with zig-zag, second layer sewed with zig-zag cut and frayed.  This came out rather dark, so that it is difficult to see the diagonal lines, which are very light in the original design.  Also the fraying covers the underneath fabric, so you don't really get the idea of the diagonal lines, although the top stitching does emphasise it..


No. 2.  First layer stitched; second layer stitched, cut away and frayed.  There is not enough contrast between the first and second layers, so it all rather fades into one piece of blue.


No. 3.  First layer sewed in zig-zag; second layer sewed in zig-zag with pieces of fabric incorporated and then cut; third layer stitched with spirals and whip stitch, cut and frayed.  When I put on the second layer and stitched it, it seemed altogether too bright, so I put on the third layer to tone it down a bit.  But I then lost the horizontal lines and the feel of the wavy pattern, so it looks messy.


No. 4.  Background fabric stitched with whip stitch; second layer (dyed dishcloth) sewn with spirals and whip stitch and cut.  I liked this better. The colours were right and it had a 'sky' feel.


No. 5. First layer stitched on padded felt, straight stitch, zig-zag and cable.  Second layer straight stitch and zig-zag, cut away and frayed.  This is the other half of the piece (No. 13) in Chapter 5, but with an extra layer incorporated and frayed.  Although I like the first piece, I think the extra layer gives it more depth.